
My eight year old is very fond of making potions. In the past, she would typically root through the recycling for a bottle, then fill it with water, a little bit of soap and various items from outside like pine needles, seed pods, leaves and more. This christmas, I decided to give her potion supplies an upgrade. I considered offering this as a new selection to our business, Hearthside Toys, but in the end it would not be very cost effective. This was her main gift from us and the materials added up! I thought this way people can choose to add as much or as little as they like, but I'd lay out exactly what I bought and how I did it. Others may choose to simply use this as inspiration and do their own thing.
I spent a lot of late nights trying to figure out just the right bottles and materials to use. I considered test tube and regular spice racks among others, but nothing seemed quite right. Finally I found these bulk glass bottles with corks, and they come with cute little tags. Perfect! I admit I initially had grand plans of doing much more decorative writing and some drawings like flowers and leaves on each tag, but these were done on 12/23 at 11 o'clock at night, with my 23 month old screaming for me from the other side of the gate because he wouldn't sleep. Needless to say, I scribbled down the labels rather quickly! A warning: tying them was quite tedious as well.
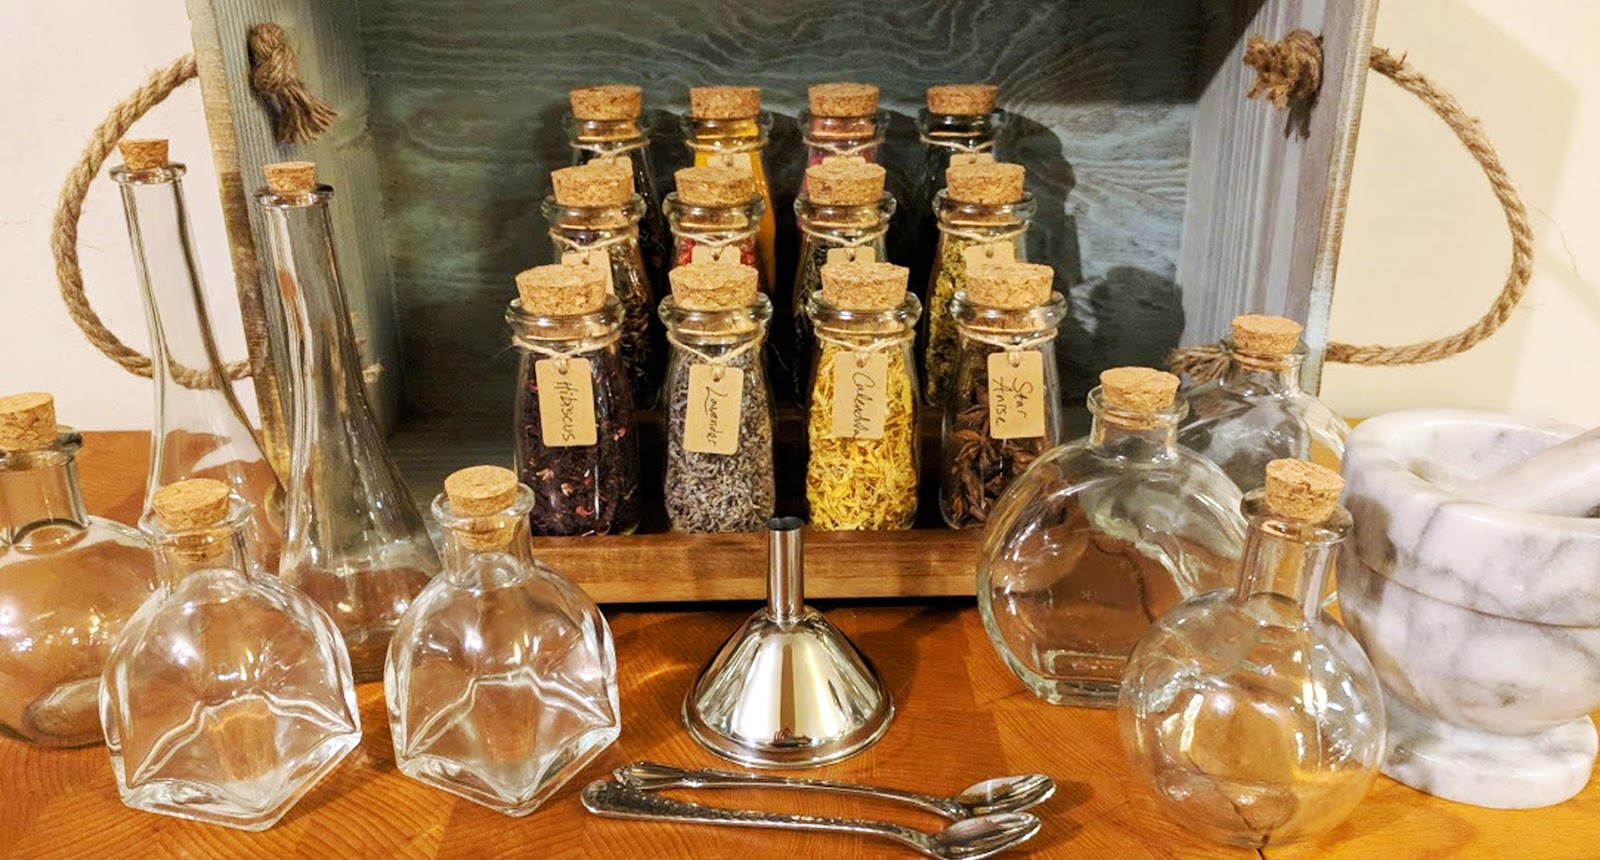
Next came trying to package everything together. I knew I wanted to make it all portable, and have a place to display the bottles and store it all. The previously mentioned toddler is very curious, so this needed to be something she could play with and then put out of his reach with ease. First I found this acacia spice shelf, and scored it for almost half off! It's still available as I write this.

The large blue painted crate with rope handles is from Michaels (only available in store) and was half off with a coupon. I found the additional potion bottles there too. Everything fits inside the crate perfectly, and it makes it very portable. We also added an old tablecloth so she can set up wherever and there isn't a concern about spills.

I added a few extras like my old mortar and pestle, and some skinny baby spoons we no longer use that were just the right size for the bottles. I also purchased these stainless steel funnels (and saved the other two for myself), to make filling the potion bottles easier.
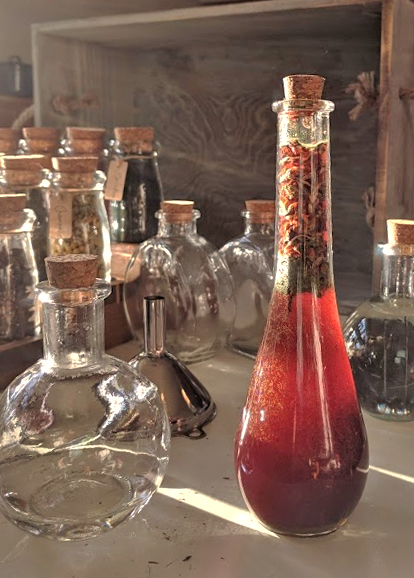
Finally, it came time to fill the bottles!! I had scoped out the bulk spice sections at both Whole Foods and the local coop, but ended up getting everything at the coop. Hopefully you have a place with bulk spices near you, because these would get quite costly to order in larger amounts. The total to fill the bottles plus a little extra of each ingredient came to about $37. I just tried to choose things that would look cool and interesting to add to a potion, and included 3 ingredients to dye the water. Initially I considered trying to find some pink rosewater, but thought she'd use it up in an instant. Instead, I got beet powder, and it works beautifully to color the water a vibrant pink! I bought spirulina for green, and turmeric for a golden orange. You can obviously put whatever you like, but the list of what I chose is:
- Hibiscus Flowers
- Lavender
- Calendula
- Star Anise
- Clover
- Pink Pepper Berries
- Dragon Well Tea
- Chamomile
- Juniper Berries
- Turmeric
- Beet Powder
- Spirulina
On christmas morning she quickly got to work! In fact, she spent so much time making potions over the next twenty-four hours that she used up half of the ingredients! So you may want to stock up on extras to fill the bottles. 😊
© The Mindful Home, 2019. Unauthorized use and/or duplication of this material without express and written permission from this blog’s author/owner is strictly prohibited.

No comments:
Post a Comment
Note: Only a member of this blog may post a comment.